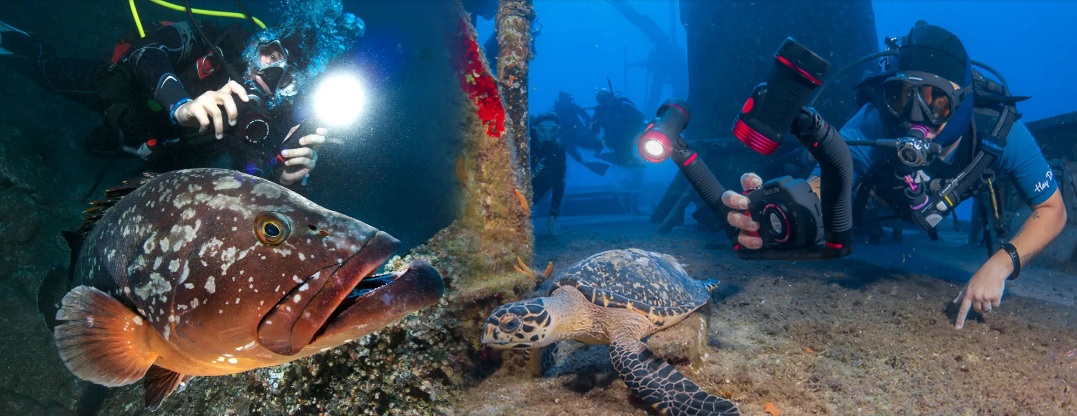

Getting ready for a dive trip that includes underwater photography is exciting and the anticipation of being halfway around the world in paradise is awe-inspiring! To help you prepare for your trip, we’ve taken our years of our own experiences and those from our clients and created some basic tips for getting prepared for the photography side of your dive trip. If you follow these simple steps, you’ll gain confidence in knowing your gear is ready and up to the exciting tasks ahead!
1. Test All of Your Equipment
You want to avoid any unnecessary surprises. Set up your camera system the way you intend to use it on location at your dive destination and test every feature, and do this with enough time to sort out any needed updates or repairs. Repairs can take about 4 to 6 weeks depending on the manufacturer and time of year, so it’s recommended to test your gear at least 6 weeks prior to departure.
2. Inspect the O-Rings
Look for cuts and tears and replace any O-ring if it’s damaged. O-rings should be replaced annually. It’s also good to have spare O-rings on hand in case it becomes damaged during your trip
3. Check for Firmware Updates
Visit the camera manufacturer’s website and check if any firmware updates are available. Updating the camera’s firmware can be more challenging in remote areas with weak WiFi signals and limited access to a computer.
4. Pack Spare Parts
This includes basic maintenance items; lube, spare O-rings, Moisture Muncher [desiccant] a camera cleaning kit and other spares that pertain to your particular set-up.
5. Clean and Lube
Thoroughly clean your camera and lighting, and while doing so, inspect your equipment, then test as per Point 1.
Note: Lube only O-rings and seals that specifically require lubrication. Certain silicone O-rings do not require lube.
6. Chargers, Power & Voltage Adapters, Batteries
This is especially important, as you probably won’t be able to obtain spare AC or foreign plug adapters at your diving resort or location, inventory all of your AC charge adapters and carry a back-up for each. Inform yourself of the local AC outlet requirements and make sure you have the necessary voltage and plug converters.
7. Syncing Flashes and Strobes
Many times, we hear about lack of function of a strobe (also referred to as external flash). This can be frustrating, however it’s entirely preventable. Sync your strobe with your camera before you leave on your trip and make sure that the optical cable passes light and triggers the external flash/strobe. If you’re using a TTL strobe, make sure the electronic cable connects and fires it. In all cases, make a few test shots to confirm the syncing of your flash is correct.
8. Packing and Transporting Your Gear
If at all possible, bring all or your most important gear on board your flight as a carry-on; SeaLife makes several compact travel cases and a photo backpack that offer air travel friendly external dimensions, if you need more space, pack your gear in a carry-on compliant hard case or suitcase. Keep in mind you’ll need to carry-on your Li-ion batteries as a safety requirement.
If something goes wrong with your photo gear on your dive vacation, don’t panic. Check the manufacture’s website for troubleshooting section. In many cases that will help you to quickly overcome any issues without the need to contact the manufacturer and wait for a reply. And if you’re traveling with a group, many times another diver will have a spare or have some good advice.

