Call Us Now! (02) 8681-8341 [email protected]
Call Us Now! (02) 8681-8341 [email protected]

BCD Care and Maintenance
Although all dive gear is an investment, your Buoyancy Compensator is one of the most important pieces of dive gear you will ever own. It is what allows you to ascend, descend and maintaining neutral buoyancy at depth during every dive. As such, not only is it important for you to take good care of it so that it will stay in excellent working order, but for you to get the most of your money by making your BCD work for you for many years.
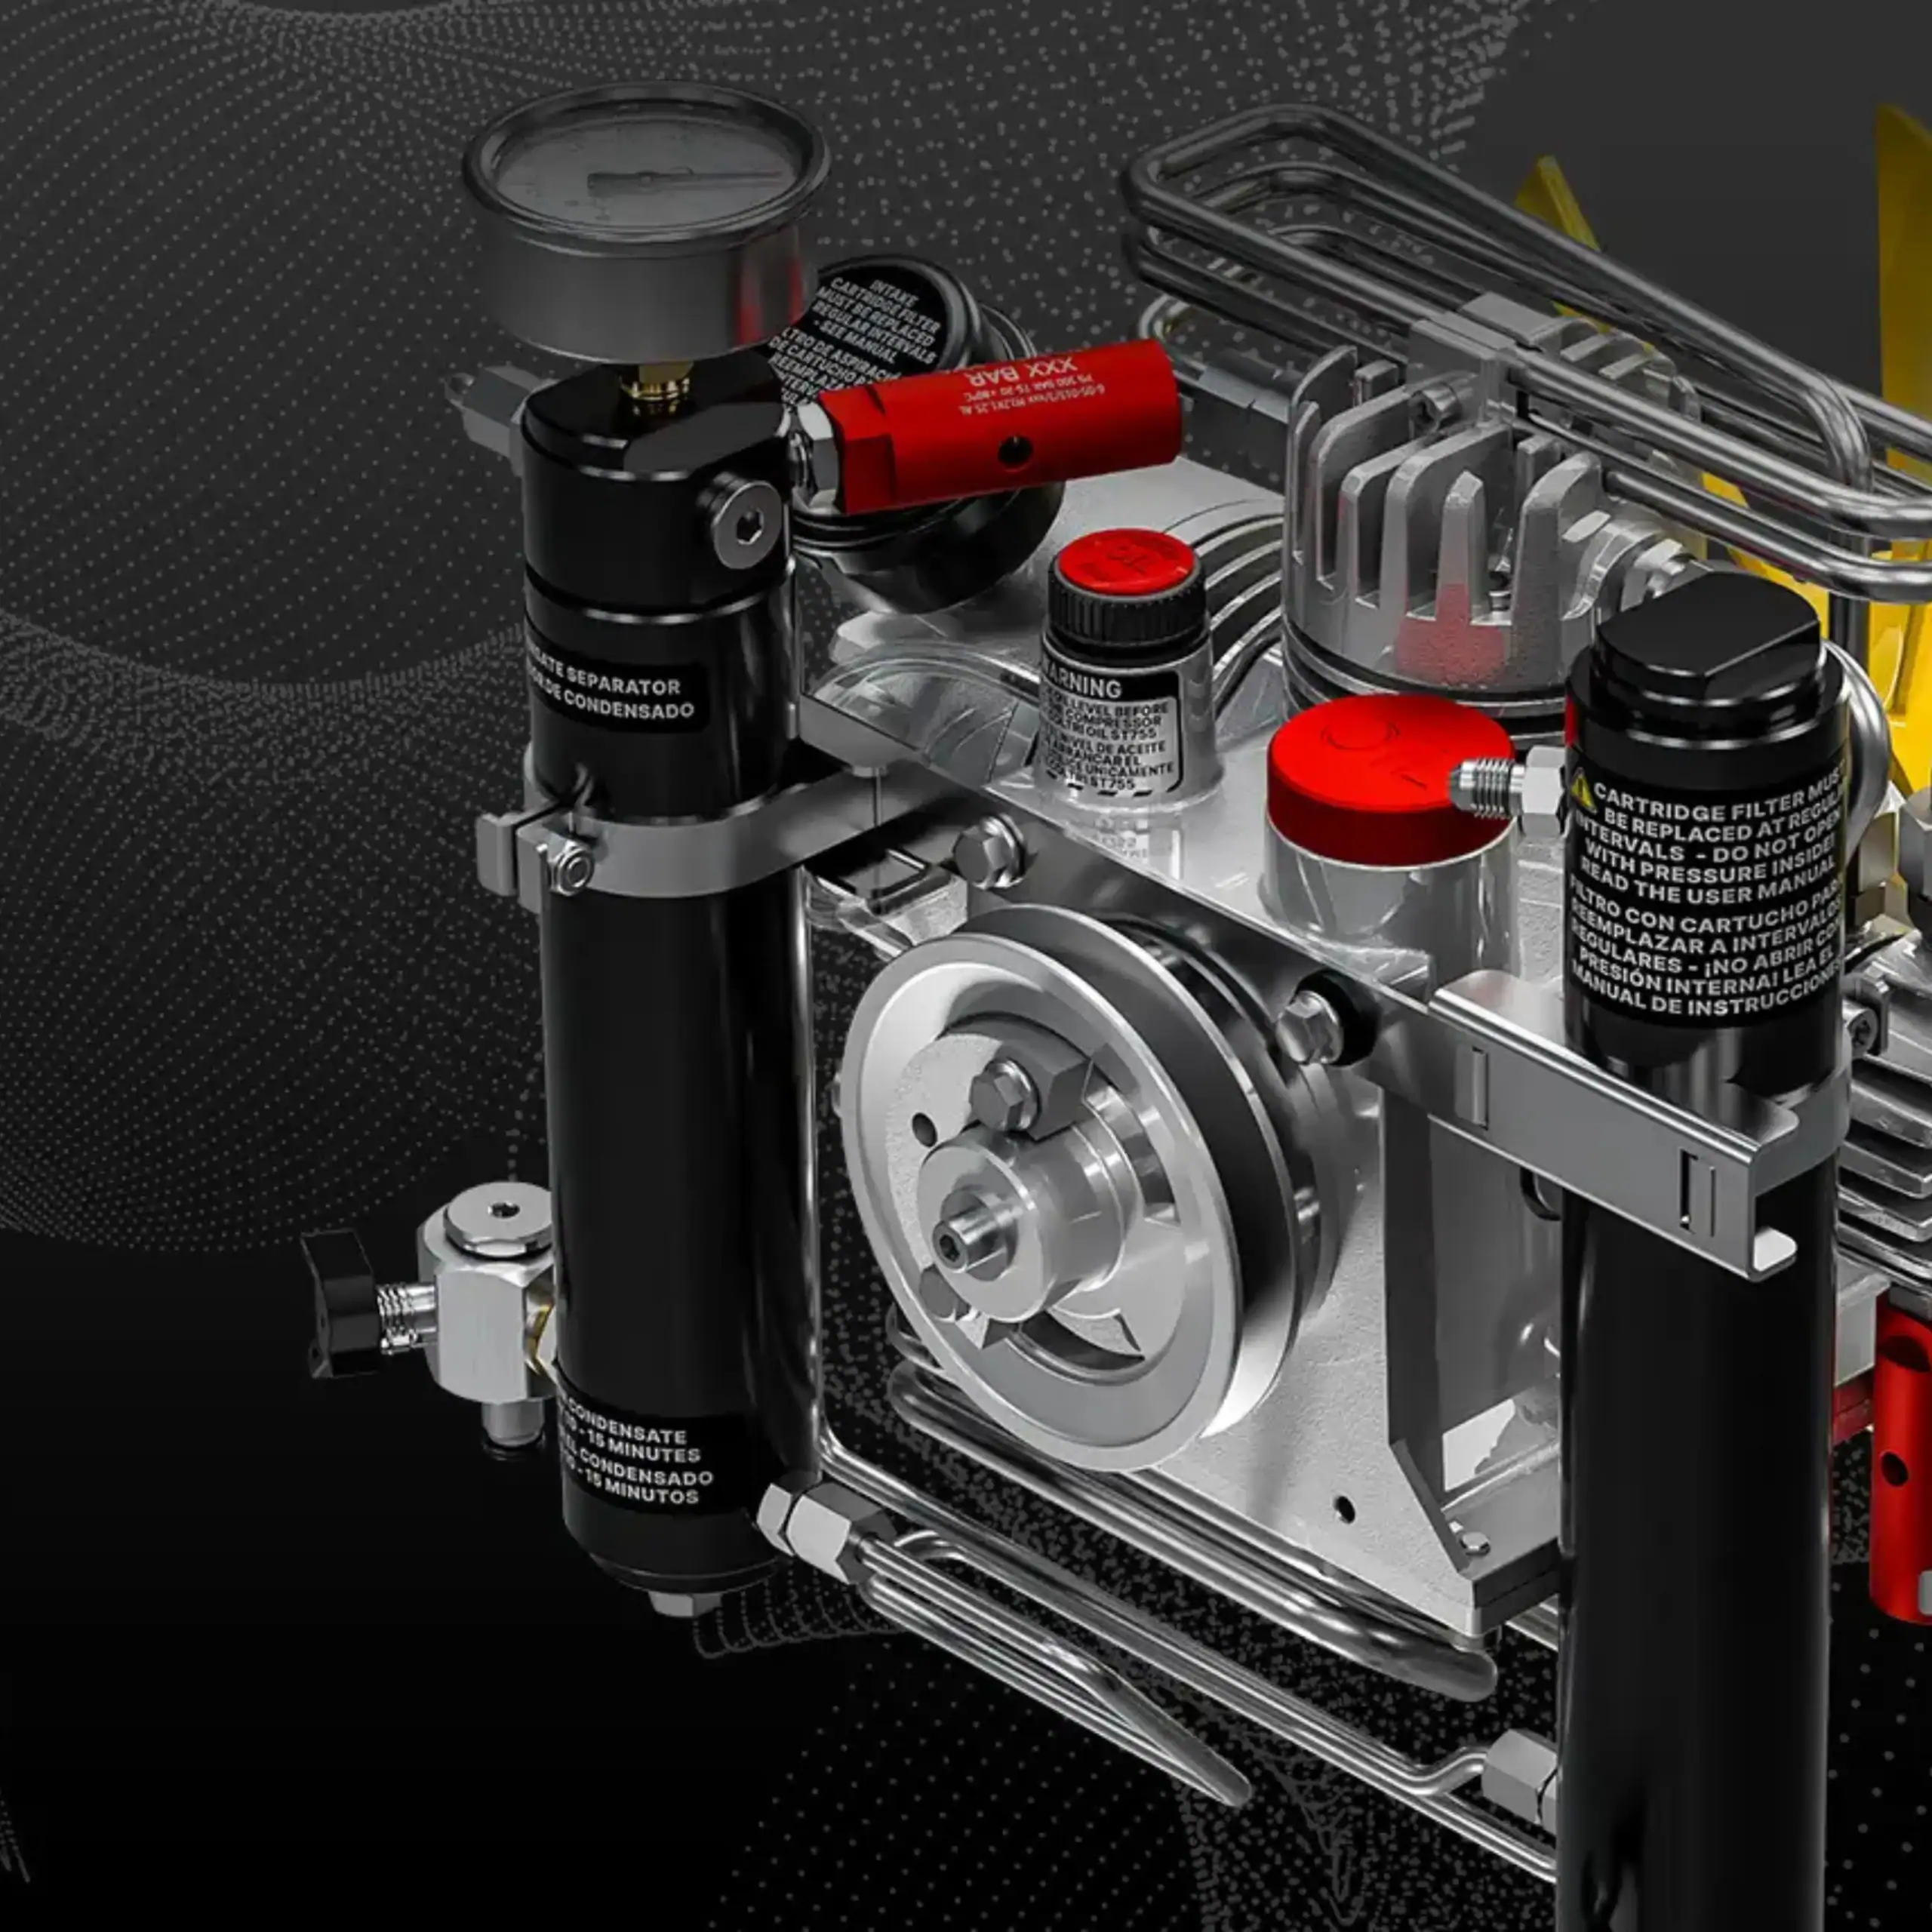
Compressor Care and Maintenance
Important: In case the compressor will be out of service for a brief period of time kindly see the Storage Guidelines provided on Compressor’s Manual

Dive Computer Care and Maintenance
Dive computers and instruments are extremely sensitive. Soak them in fresh water as soon as possible after use. Work all moving parts while soaking to loosen any salt and sand deposits. Annual service is recommended to ensure the longevity of delicate and expensive equipment. Be sure to follow any and all manufacturer’s recommendations and consult the owner’s manual before attempting replacement of the batteries.

Fin Care and Maintenance
Chemicals/Solvents: Avoid any contact with alcohol, oil, gasoline, aerosols, or chemical solvents. Do not expose any part to aerosol spray, as some aerosol propellants attack or degrade rubber and plastic materials. Do not use any type of alcohol, solvent or petroleum based substances to clean or lubricate any part. Do not store your equipment near any oil, gasoline, chemicals, or solvents.
Mask Care and Maintenance
During the manufacturing process, a thin film of silicone will develop on the glass lens. This film of silicone will cause rapid fogging that is resistant to conventional anti-fog measures. It is important to remove this film of silicone from the lens prior to your first dive. To remove the film you will need to scrub the lens inside and out with a mild abrasive. A paste toothpaste is ideal but a liquid scrub will also work. Rub the cleanser into the lens with your fingers several times and then rinse clean thoroughly.
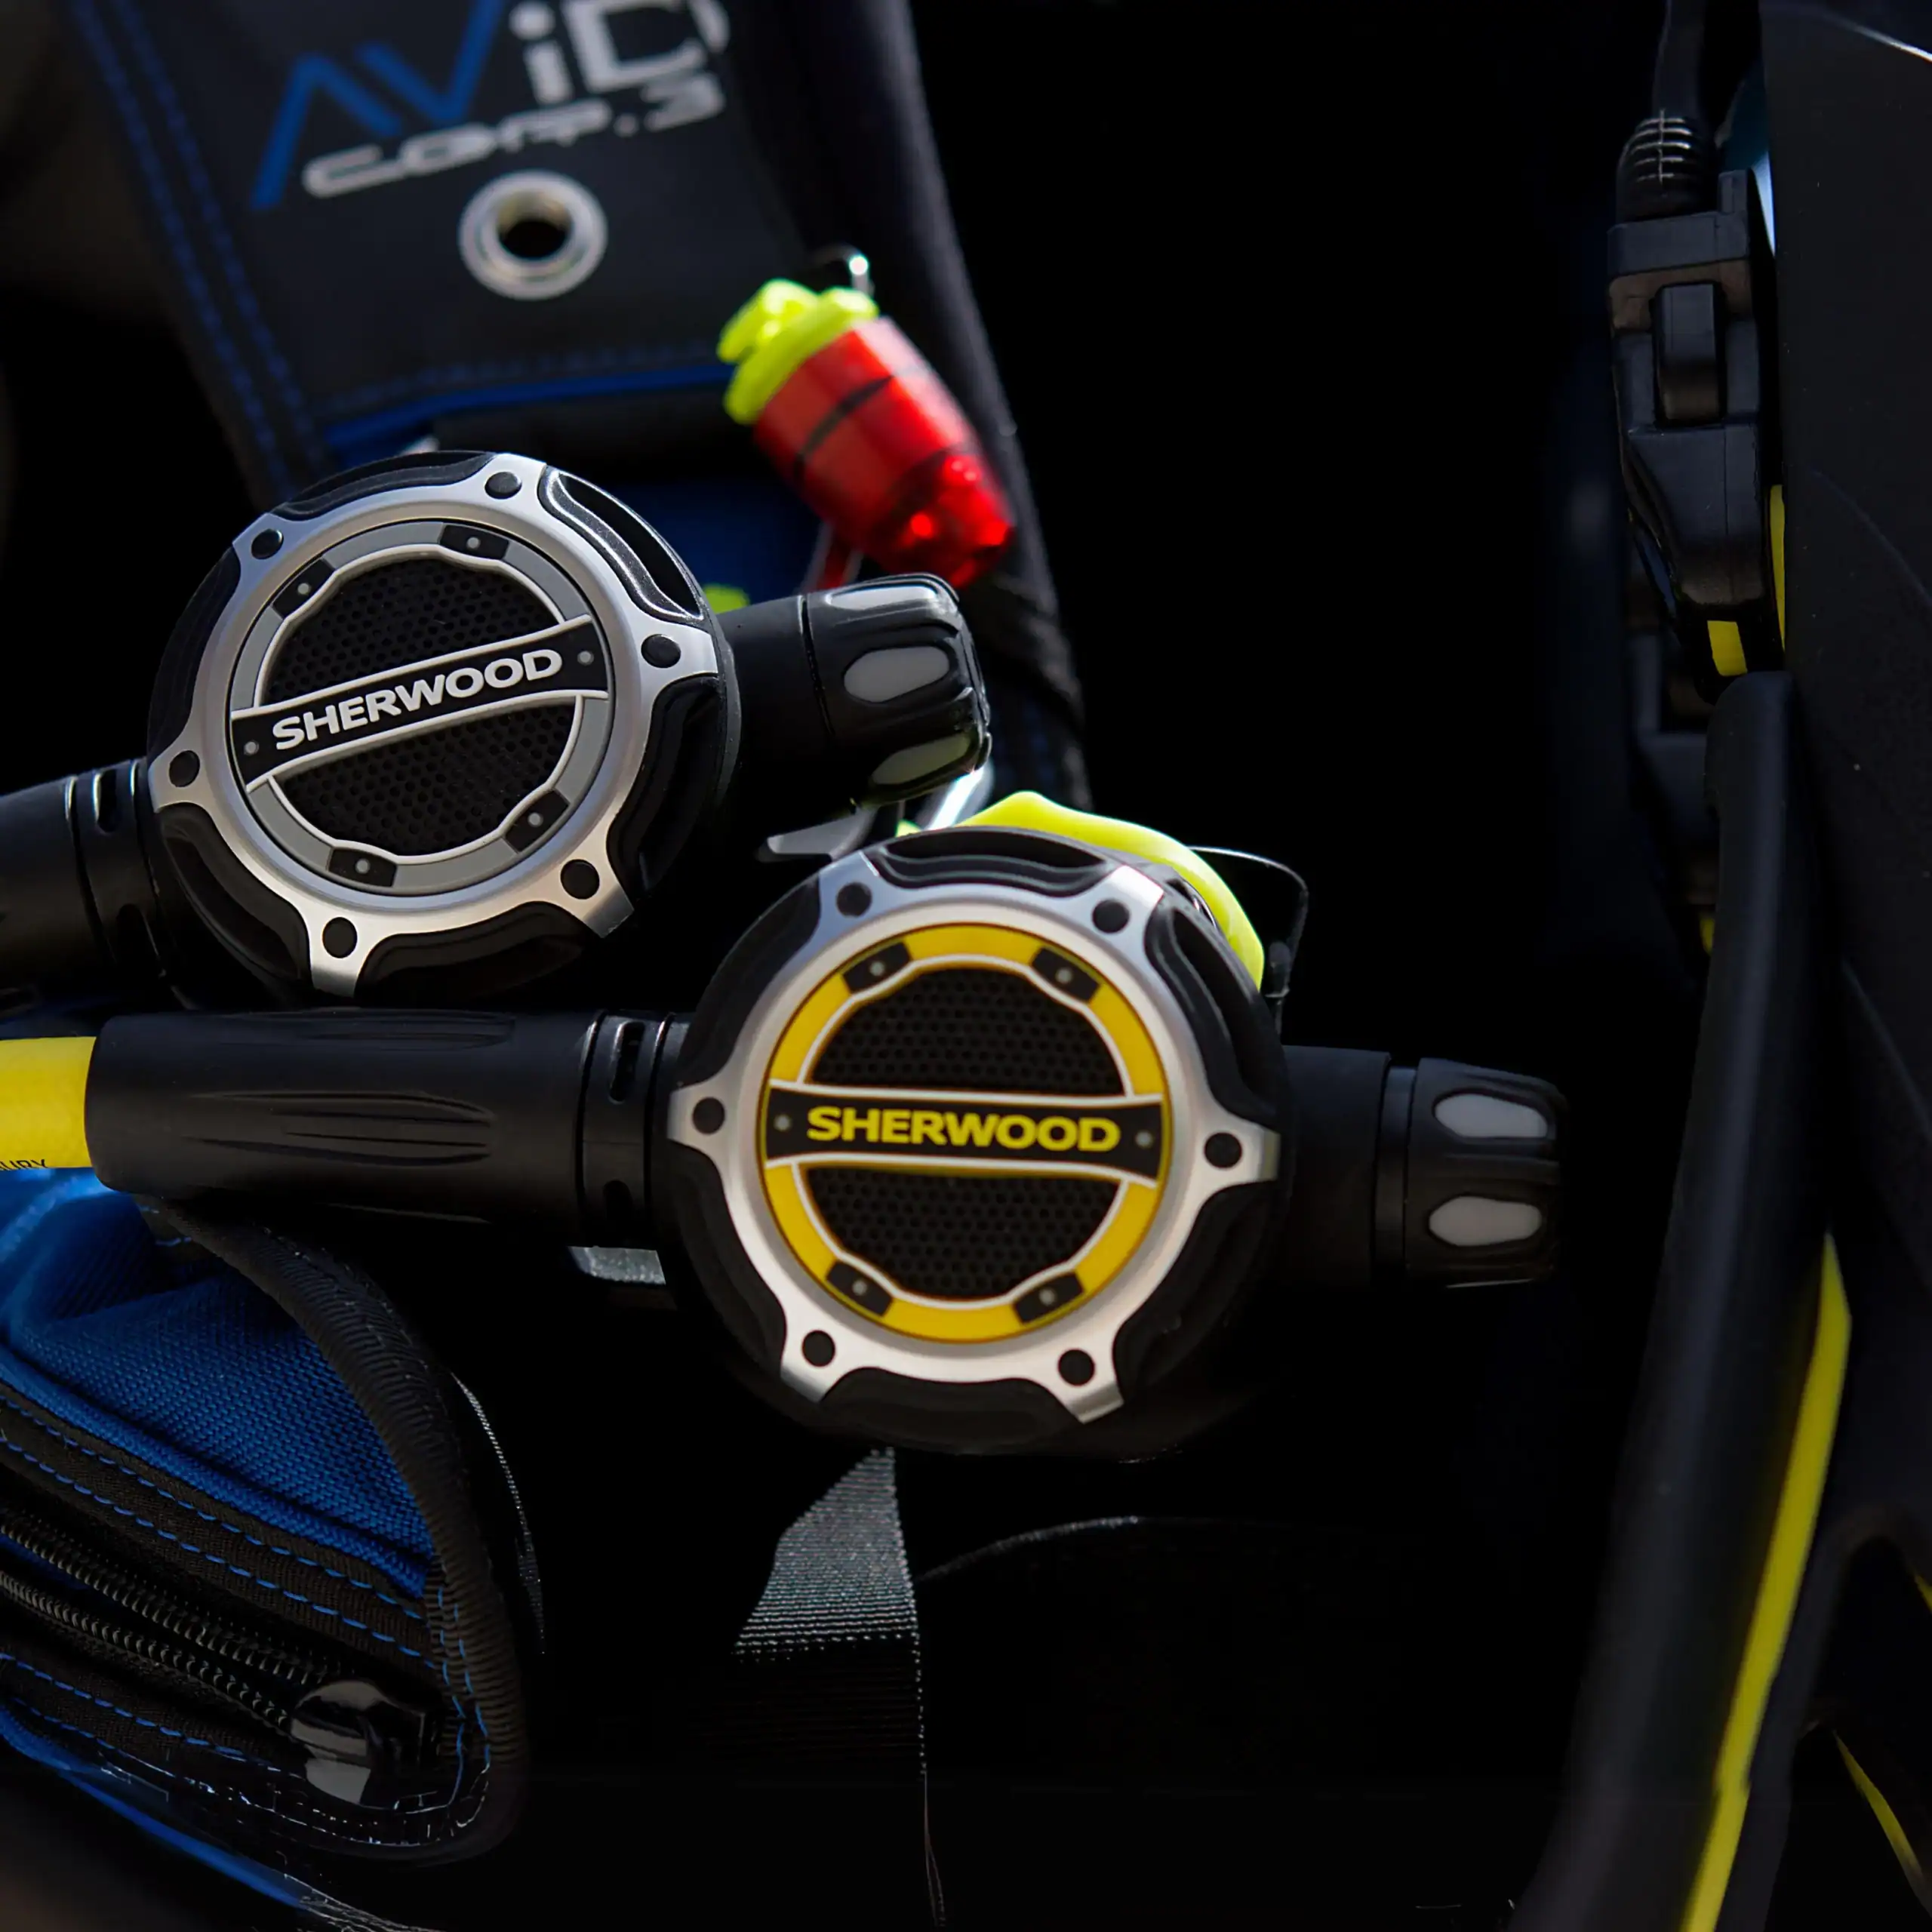
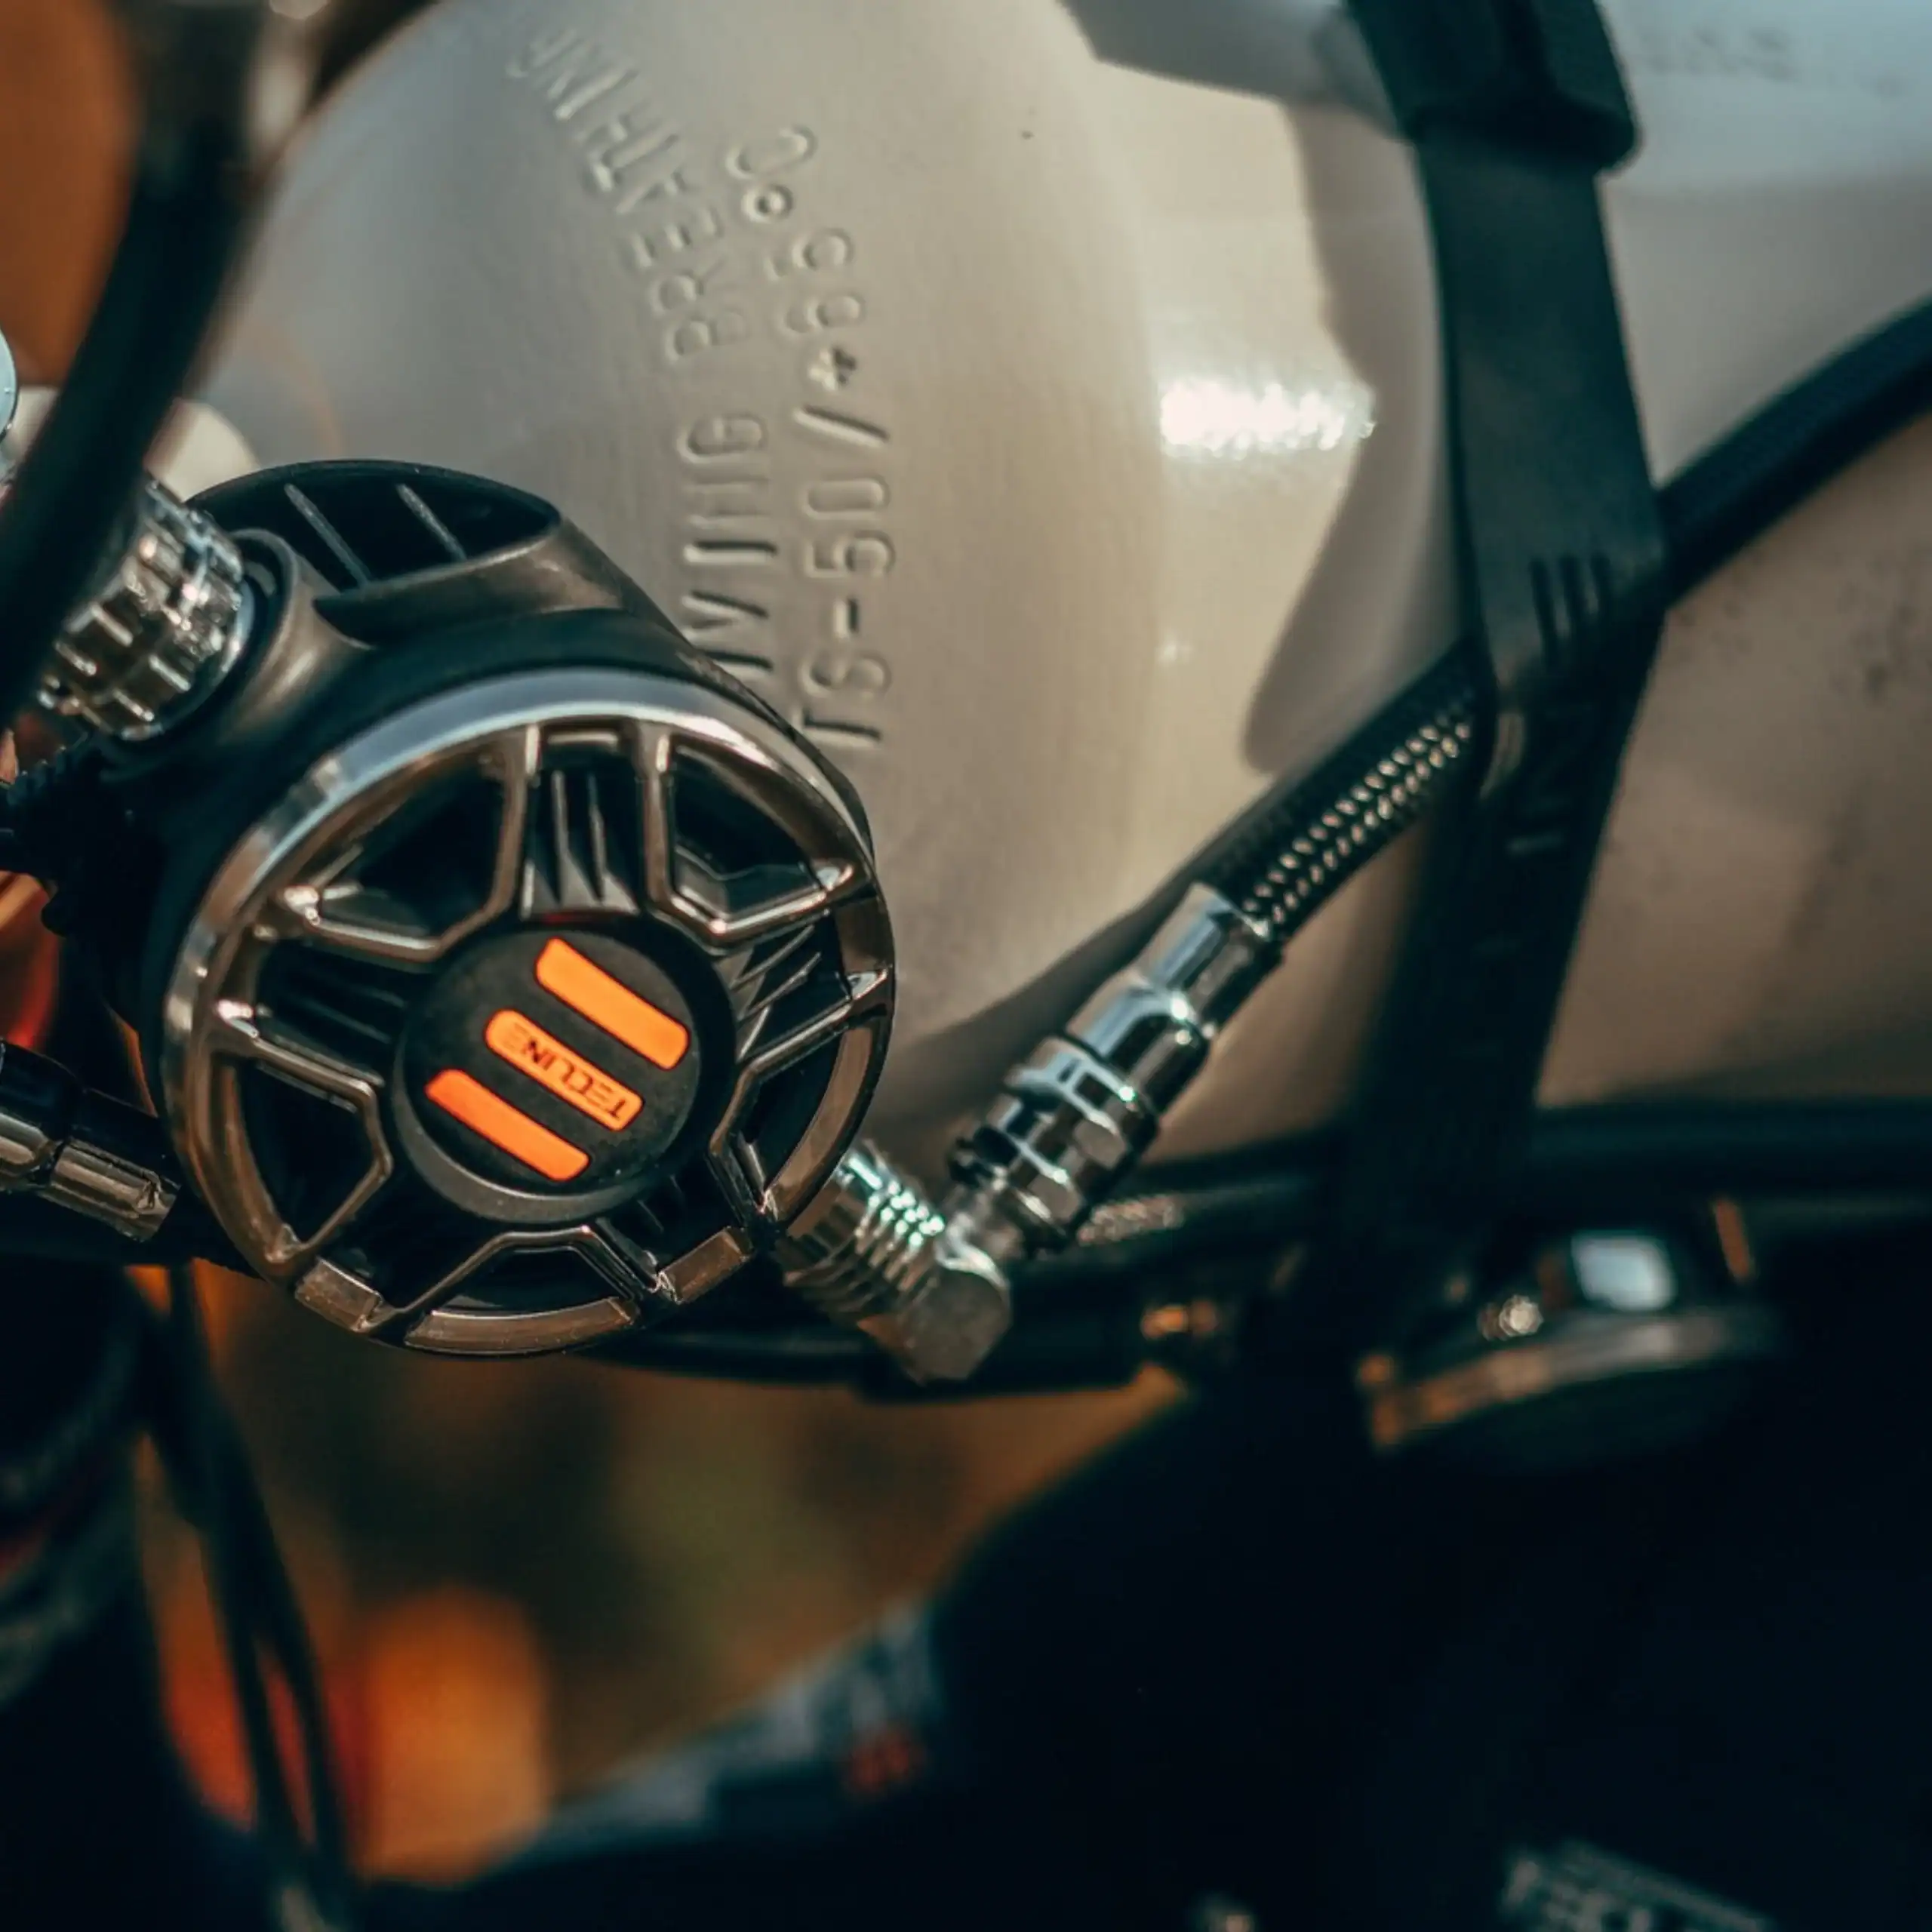
Regulator Care and Maintenance
The following maintenance procedures should be performed routinely after each use to ensure that your dive regulator is cleaned, inspected, and prepared for the next use or for storage.
Tank Care and Maintenance
SCUBA cylinders should be rinsed in fresh water after use, then wiped dry. Remove the tank boot and dry the cylinder completely so that no water is allowed to accumulate on the outside of the tank. The valve should be opened briefly to expel any moisture from the valve opening.

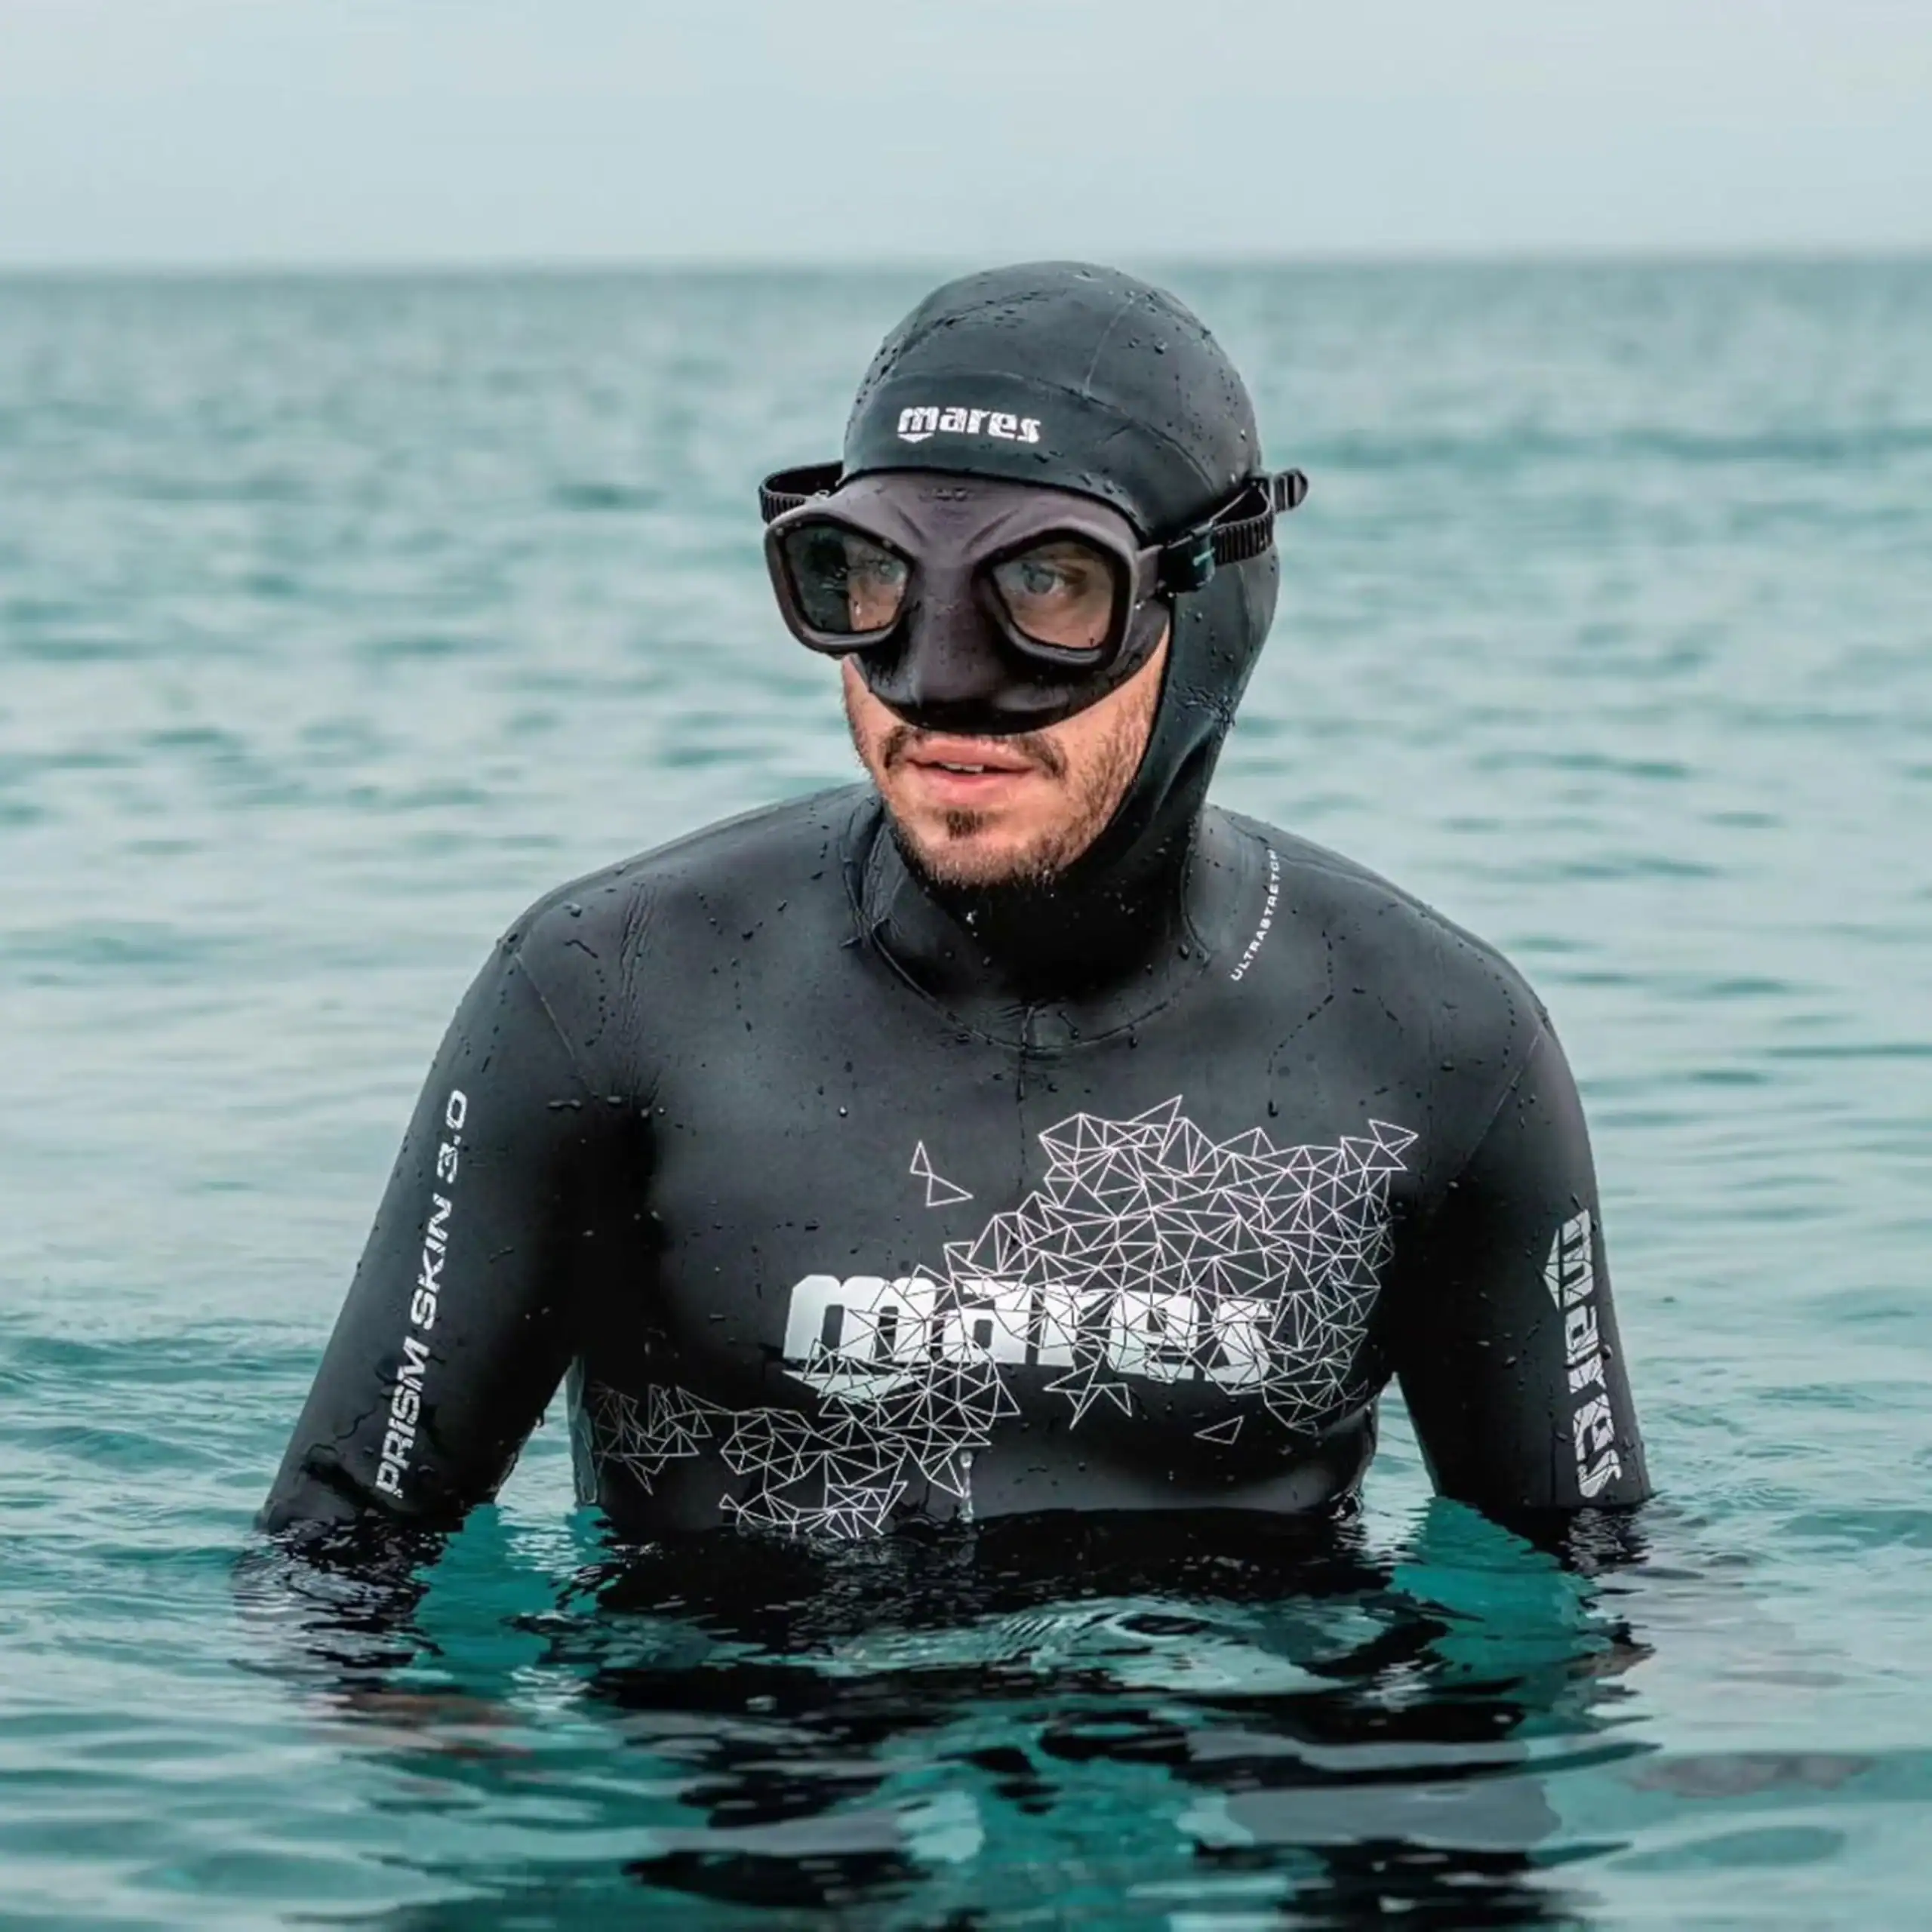
Wetsuit Care and Maintenance
The following maintenance procedures should be performed routinely after each use to ensure that your dive regulator is cleaned, inspected, and prepared for the next use or for storage.